Introduction
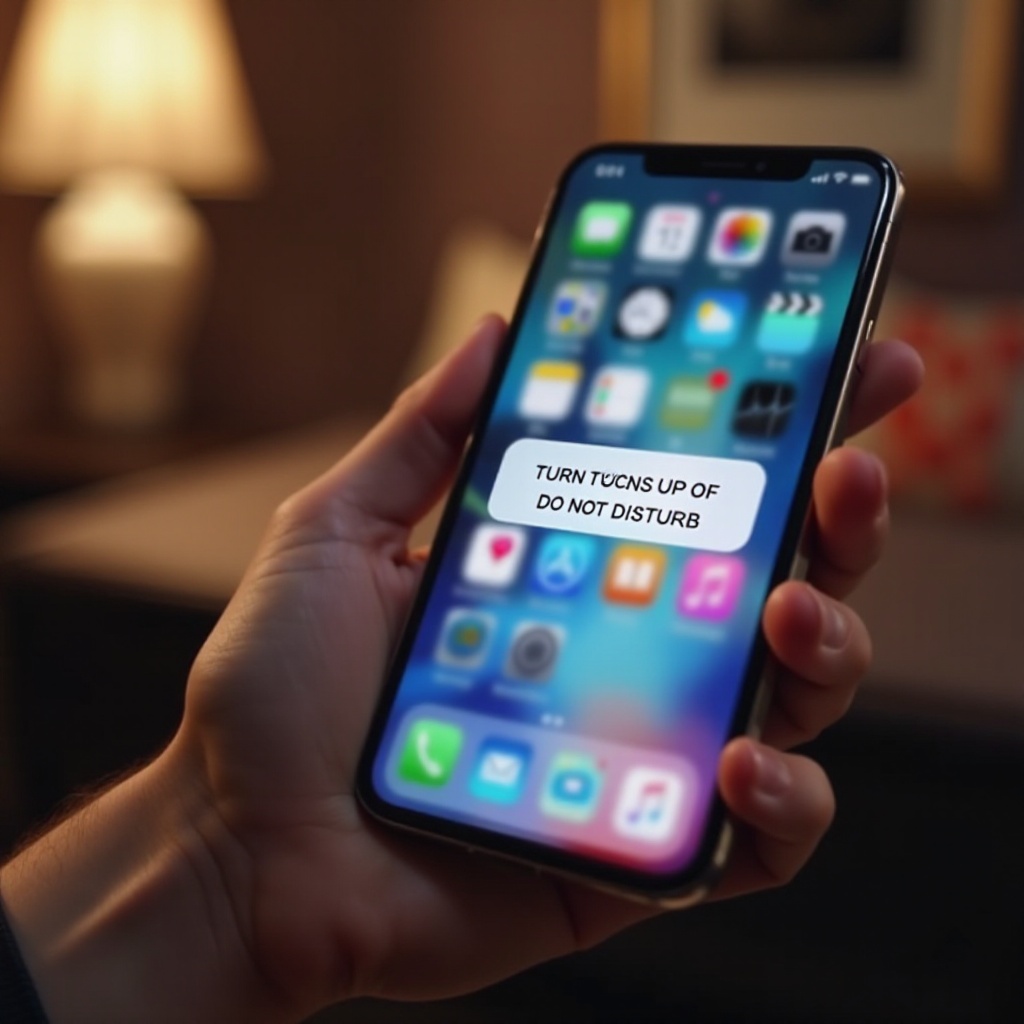
Do Not Disturb (DND) on iPhones is a handy feature designed to help manage interruptions by silencing calls, alerts, and notifications. It’s especially useful during meetings, working hours, or moments when you need focus. However, knowing how to promptly turn it off is equally important, particularly when expecting an urgent call or message. This guide will walk you through the simple steps to disable Do Not Disturb on your iPhone, ensuring you remain accessible when necessary.
Understanding the Do Not Disturb Feature on Your iPhone
Do Not Disturb provides the ability to silence notifications, allowing for a more controlled notification experience. This feature lets you customize who can reach you or when notifications are silenced, enabling you to maintain focus during critical tasks. It’s a go-to tool for many situations, but the need to disable it arises when you might miss out on essential communications or updates. Knowing how Do Not Disturb integrates with other iPhone features will help you manage it better.

How to Turn Off Do Not Disturb Using the Control Center
One of the fastest ways to manage Do Not Disturb is through the Control Center. Follow these steps to swiftly turn it off:
- Swipe down from the top-right corner of the screen on newer iPhones, or swipe up from the bottom on older models. This will open the Control Center.
- Look for the crescent moon icon, which represents Do Not Disturb.
- Tap the moon icon to toggle it off. This action will immediately disable the Do Not Disturb mode.
Using the Control Center ensures you can quickly manage your notifications without navigating through several settings.
Disabling Do Not Disturb Through Settings
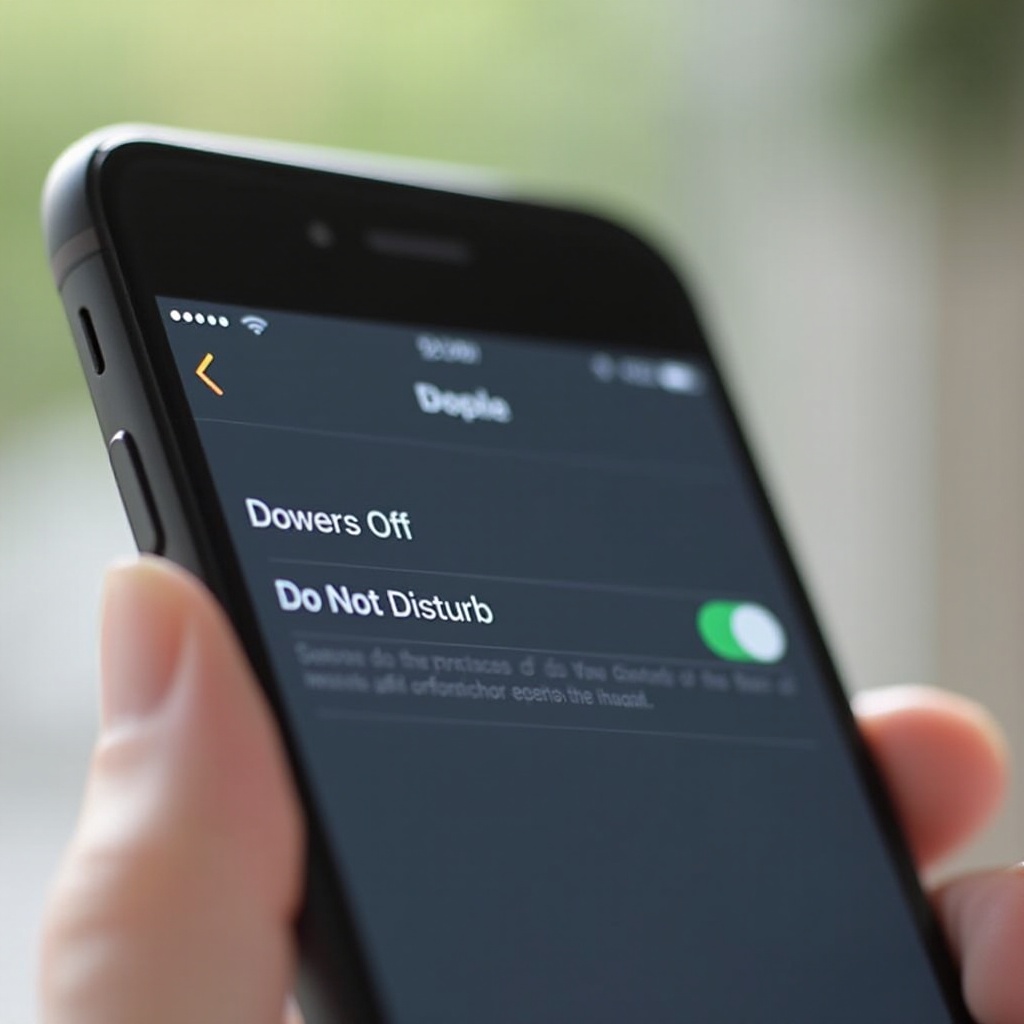
For a more comprehensive approach, the Settings menu provides another way to deactivate Do Not Disturb. Here’s how you can do it:
- Open the Settings app from your iPhone’s home screen.
- Scroll down and select ‘Focus’. Depending on your iOS version, you might directly see ‘Do Not Disturb’.
- Tap on ‘Do Not Disturb’, then toggle off the switch next to it.
Using the Settings menu gives you access to additional customization options, allowing you to modify schedules and exceptions more thoroughly. This setup is beneficial when you’re planning ahead and want to prevent Do Not Disturb from automatically reactivating during certain times of the day.
Managing Do Not Disturb Schedules
Scheduled Do Not Disturb settings are useful, but they can cause surprises if not managed properly. Follow these steps to handle these schedules efficiently:
- Navigate back to the ‘Focus’ or ‘Do Not Disturb’ area within Settings.
- Find and tap on the ‘Scheduled’ option. Check the set times to determine if they’re still appropriate for your current routines.
- Disable any unwanted schedules or adjust the times. This helps ensure the feature doesn’t activate when you need to be reachable.
Reviewing these settings regularly prevents the unexpected activation of Do Not Disturb, maintaining your availability for important communications.
Troubleshooting Common Do Not Disturb Issues
Occasionally, you might encounter problems with Do Not Disturb behaving unexpectedly. Here are some common issues and how to troubleshoot them:
- Accidental Activation: Double-check the Control Center and Settings to ensure Do Not Disturb isn’t turned on unintentionally.
- Conflicts with Focus Mode: Review the ‘Focus’ settings for overlapping schedules that may be affecting Do Not Disturb.
- Post-Update Reset: After system updates, review settings as updates can sometimes reset preferences.
Addressing these troubleshooting steps can help you maintain proper function of your notifications without missing important alerts.
Advanced Tips for Managing iPhone Notifications
To make the most of your iPhone’s notification capability, consider these tips beyond just turning off Do Not Disturb:
- Tailor Notification Settings for Specific Apps: Go to Settings > Notifications to customize each app’s alert style, sound, and badge markings.
- Create Customized Focus Modes: These modes allow selected contacts and apps to bypass Do Not Disturb, ensuring essential notifications are received.
- Enable Siri Suggestions: In your notification settings, activate Siri Suggestions to enhance your notification experience with timely, relevant alerts.
Implementing these tips ensures that only the most necessary notifications get through, supporting a distraction-free environment while still allowing you to attend to immediate matters.
Conclusion
Disabling Do Not Disturb on your iPhone is a straightforward process, whether via the quick access in the Control Center or through Settings. By understanding and adjusting your Do Not Disturb settings, you maintain control over when you can be reached. Becoming familiar with these functions ensures you remain connected exactly when you need to be, whether for personal or professional communications. Embrace the flexibility of your iPhone’s notification systems and make them work best for you.
Frequently Asked Questions
How do I quickly turn off Do Not Disturb mode?
Use the Control Center by swiping down from the top-right corner or up from the bottom, then tap the moon icon.
Will turning off Do Not Disturb affect my scheduled Focus modes?
Yes, manually turning off Do Not Disturb will disable any active schedules. Check your Focus settings for alignment.
What should I do if Do Not Disturb doesn’t turn off automatically?
Review the ‘Focus’ or ‘Do Not Disturb’ settings to ensure no overlapping schedules are active.