Introduction
Installing a car seat securely is vital for your child’s safety. A properly installed car seat can make the difference in providing maximum protection during a collision or sudden stop. Understanding the correct installation process can give you peace of mind every time you travel. This guide will walk you through the step-by-step procedure of installing a car seat using a seat belt, ensuring it’s fastened correctly and securely.
Why Proper Installation is Crucial
A car seat that isn’t installed correctly cannot provide the full protection it’s designed to offer. Improper installation can lead to the seat moving too much in a crash, or even becoming detached, increasing the risk of injury. Following the correct procedures ensures that the car seat performs its protective function effectively.
Additionally, misuse of car seats is common. Statistics show that nearly three out of four car seats are not used correctly. By learning and practicing the right installation method, you significantly reduce the risk of harm to your child in the event of an accident.
Preparing for Installation
Choosing the Right Car Seat
Selecting the correct car seat for your child is the first step. Ensure the car seat suits your child’s weight, height, and age. Rear-facing seats are required for infants and toddlers, while older kids can transition to forward-facing seats or boosters as they grow.
Reading the Car Seat and Vehicle Manuals
Both the car seat and your vehicle’s owner manual have specific instructions for installation. These guides provide vital information about the features of your car seat and the safest locations, methods, and precautions for installation in your particular vehicle.
Gathering Necessary Tools and Equipment
Ensure you have all necessary tools before you begin. While most car seat installations require no tools, having a towel or pool noodle can be helpful for adjusting the recline angle. You may also need the car seat manual, vehicle owner’s manual, and possibly a marker for easier tracking.

Step-by-Step Installation Process
Positioning the Car Seat
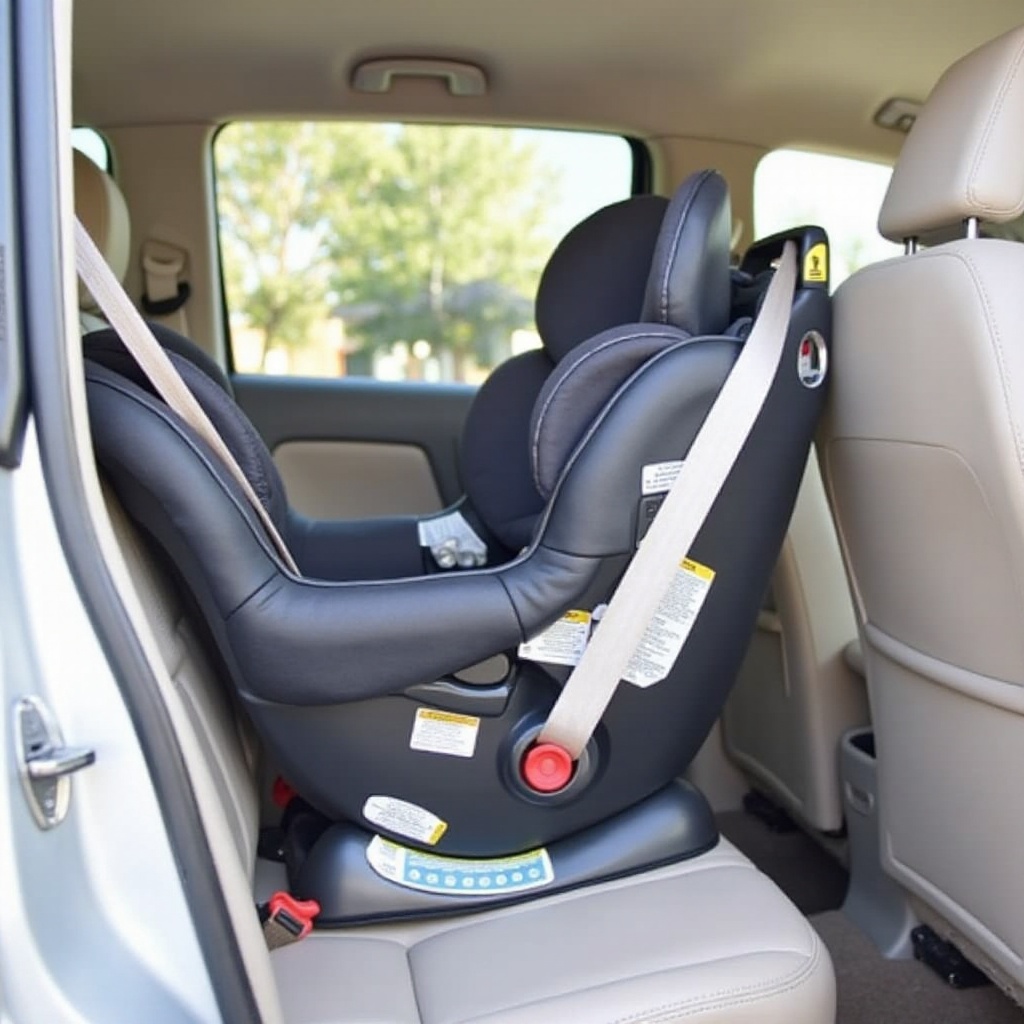
Start by positioning the car seat in the back seat of your vehicle. Generally, the safest spot is the middle seat, which provides more distance from passenger-side impacts. Place the car seat in the chosen area, ensuring it’s facing the correct direction (rear or forward). Recline the seat as instructed in the car seat’s manual to match your child’s age and comfort level.
Threading the Seat Belt Through the Belt Path
Next is threading the seat belt through the belt path. Look for the belt path on the car seat, usually marked and advised in the manual. Thread the seat belt through the designated path, making sure not to twist the seat belt.
Buckling and Locking the Seat Belt
Buckle the seat belt. Pull the seat belt all the way out to activate the locking mechanism (you should hear a clicking noise as it retracts).
Tightening the Seat Belt Correctly
Tighten the seat belt by pushing down on the car seat with your body weight while pulling the belt. You should ensure the seat does not move more than one inch side-to-side or front-to-back. Use your knee to add pressure to the car seat. Pull the seat belt tight without any slack.
Ensuring a Secure Fit
The Pinch Test for Tightness
After installing the car seat, use the pinch test. Try to pinch the webbing at the belt path. If you can pinch excess webbing, the belt is too loose and needs tightening.
Adjusting Recline Angles
Ensure the car seat is at the correct incline. Many seats have built-in indicators to help position them properly. Check the car seat manual for proper incline levels based on your child’s age and weight.
Checking for Movement
Gently move the car seat back and forth and side to side. It should not move more than an inch in any direction. If it does, repeat the tightening process.
Common Mistakes to Avoid
- Using both the seat belt and LATCH system together: Experts advise against using both systems simultaneously as it can create excessive force on the seat belt or LATCH anchors in a crash.
- Incorrect belt path: Always thread the belt through the correct path specified in the manual.
- Loose installation: Ensure the car seat is not moving more than an inch in any direction.
- Skipped readings: Never skip reading the manuals for both the car seat and the vehicle.
Final Checks
After completing the installation, it’s vital to double-check all aspects to ensure everything is secure and correctly positioned. This section will guide you through essential post-installation steps.
Double-Checking Everything
After completing the installation, double-check all steps. Ensure the seat belt is firm, the car seat positioned correctly, and no excess webbing.
Getting a Professional Inspection
You can seek a professional inspection from a certified child passenger safety technician (CPST). Many locations provide free car seat checks—useful for ensuring your installation is perfect.
Registering Your Car Seat
Registering your car seat with the manufacturer ensures that you receive timely notifications about recalls. Complete the registration card or register online for updates.

Conclusion
Securing your child’s car seat correctly is a fundamental step in travel safety. By following these step-by-step instructions, checking for tightness, and avoiding common mistakes, you can ensure the safest ride for your child every time.
Frequently Asked Questions
How do I know if my car seat is installed correctly?
A correctly installed car seat shouldn’t move more than an inch side-to-side or front-to-back at the belt path. Always perform the pinch test to check for tightness.
What should I do if my seat belt doesn’t lock properly?
Refer to your vehicle’s manual to understand seat belt locking mechanisms. If it still doesn’t lock, seek a professional installation inspection.
Can I use both the seat belt and the LATCH system together?
It’s not advisable to use both systems at the same time unless permitted by the car seat and vehicle manufacturers. Refer to both manuals before deciding.