Introduction
Customizing your MacBook experience can significantly improve your productivity and comfort. One area where customization can prove highly beneficial is changing the default applications for opening various types of files. Sometimes, the default app doesn’t offer the features you need, or perhaps you just prefer an alternative app’s interface. Thankfully, MacBooks offer several options for changing how files are opened, allowing for a more controlled and personalized user experience. This guide provides detailed instructions on how to open an application without the default MacBook application.

Understanding Default Applications on MacBook
Default applications on a MacBook are preselected apps that automatically open specific types of files. For example, Preview is the designated app for opening images and PDFs, while Safari is the default web browser. However, users may find that these default applications do not meet their needs.
MacOS handles file associations based on file extensions, connecting each file type to a designated app. While convenient, this system can be restrictive. Changing these predefined settings involves adjusting system preferences or making use of built-in macOS tools. Understanding these mechanisms can save you time and optimize your workflow. In the sections that follow, we’ll discuss the steps you need to customize these settings effectively.

Preparing Your MacBook for Customization
Before delving into the customization of default applications, it’s necessary to prepare your MacBook. Ensure that all system updates are installed, as they provide essential patches and improvements that can facilitate smooth adjustments.
- Backup Your System: It’s always a good practice to back up your MacBook before making significant changes.
- Install Necessary Tools: Familiarize yourself with tools such as Terminal and Automator, which will be used for customization.
- Identify Preferred Apps: Decide on the applications you want to set as defaults, downloading and installing them if needed.
With your MacBook prepared, we can now proceed to the methods by which you can change your default applications.

Changing Default Applications
Using Terminal Commands
For users comfortable with command-line interfaces, macOS’s Terminal provides a powerful way to change default applications. Terminal commands can be a direct method for making system-level changes without navigating through multiple menus.
- Open Terminal: You can find Terminal in the Utilities folder within the Applications directory.
- Use the ‘duti’ Command: To change the default application using Terminal, you will need to install a third-party tool called duti. You can install it via Homebrew with the following command:
bash

brew install duti - Set Default Applications: Once installed, you can set a default application for a file type using:
bash

duti -s com.companyname.appname .fileextension all
For example, to set VLC as the default player for mp4 files:
bash

duti -s org.videolan.vlc .mp4 all
Using the Finder and ‘Open With’ Menu
The Finder provides an intuitive method for changing default applications through the ‘Open With’ menu.
- Locate the File: In Finder, navigate to and right-click the file type you want to change.
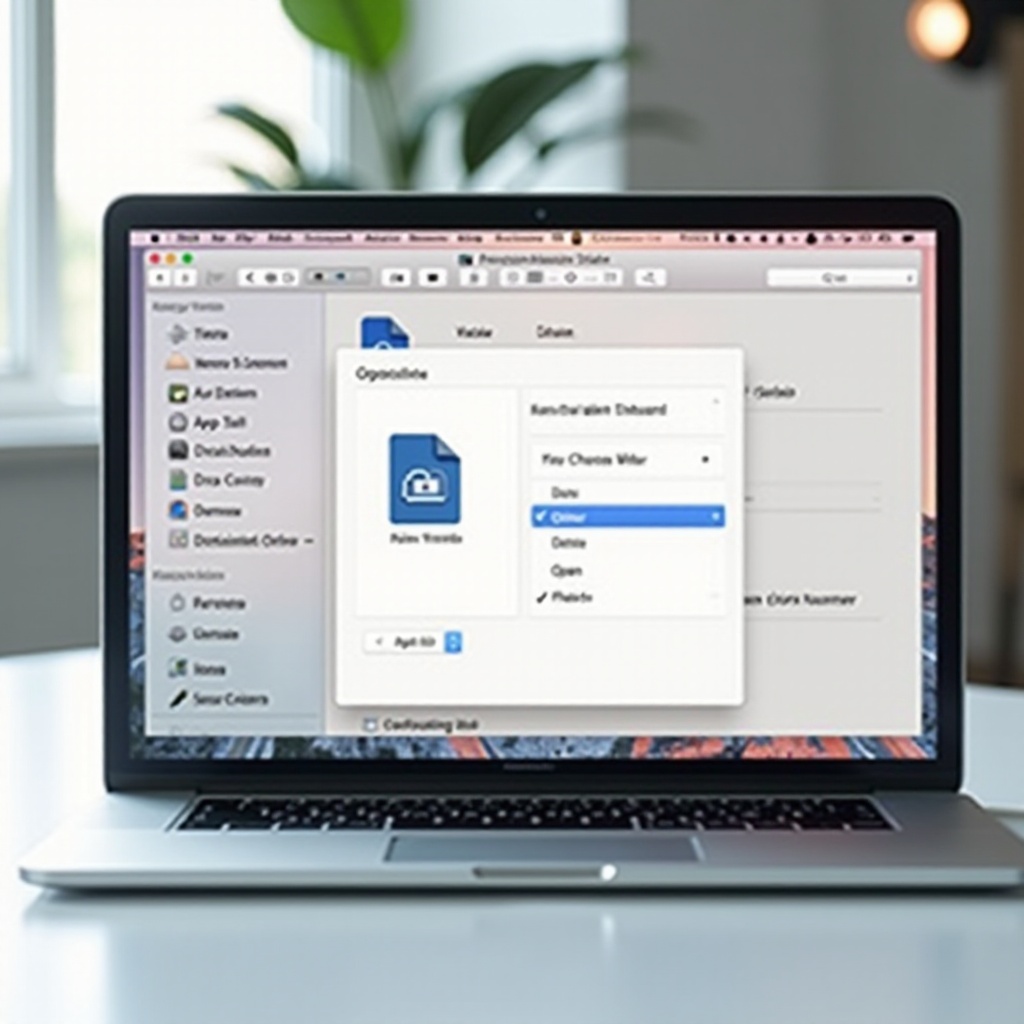
- Access ‘Open With’ Menu: Hover over ‘Open With’ and select ‘Other…’.
- Choose Application: In the window that appears, select the application you want to use and check the ‘Always Open With’ checkbox. Click ‘Open’ to finalize.
This method is user-friendly and allows real-time changes without the need for additional tools or software.
Utilizing Automator for Custom Workflows
Automator is a built-in utility in macOS that can simplify repetitive tasks through custom workflows.
- Open Automator: Found in the Applications folder.
- Create Workflow: Click ‘New Document’ and choose ‘Workflow’, then proceed.
- Add Actions: Drag and drop desired actions into the workflow. For changing file open defaults, you might need scripts or actions related to opening files with specific apps.
- Save and Run: Save your workflow and run it to automate the opening process with your desired application.
Selecting Third-Party Applications for Opening Files
Sometimes third-party applications offer features and functionalities superior to native macOS apps. Here’s how to integrate them:
- Download and Install: Find a reliable third-party application for your required file type and install it.
- Assign Default App: Using Finder, right-click the file, choose ‘Get Info’, and navigate to the ‘Open with’ section. Select your preferred application and click ‘Change All’ to apply it to all files of this type.
Popular third-party applications include VLC for media files, Adobe Reader for PDFs, and Google Chrome for web browsing.
Conclusion
Customizing the default applications on your MacBook allows for a personalized and optimized user experience. Whether using Terminal commands, Finder’s ‘Open With’ menu, Automator workflows, or third-party applications, you have multiple options at your disposal. By following these steps, you can tailor your MacBook to better suit your preferences and workflow, ensuring greater productivity and satisfaction.
Frequently Asked Questions
How do I remove the default application for a specific file type on MacBook?
To remove or change default applications, use the Finder’s ‘Get Info’ on a file, adjust the ‘Open with’ section, and click ‘Change All’.
What are the best third-party applications for opening files on MacBook?
Top choices include VLC for media files, Adobe Reader for PDF files, and Evernote for notes. Select the one that meets your specific needs.
Can changing default applications affect my MacBook performance?
Generally, changing default applications doesn’t affect performance. However, the chosen application should be efficient and compatible with your MacBook’s specifications.
